DIY Tips for Installing Your Own PVC Decking


Understanding PVC Decking
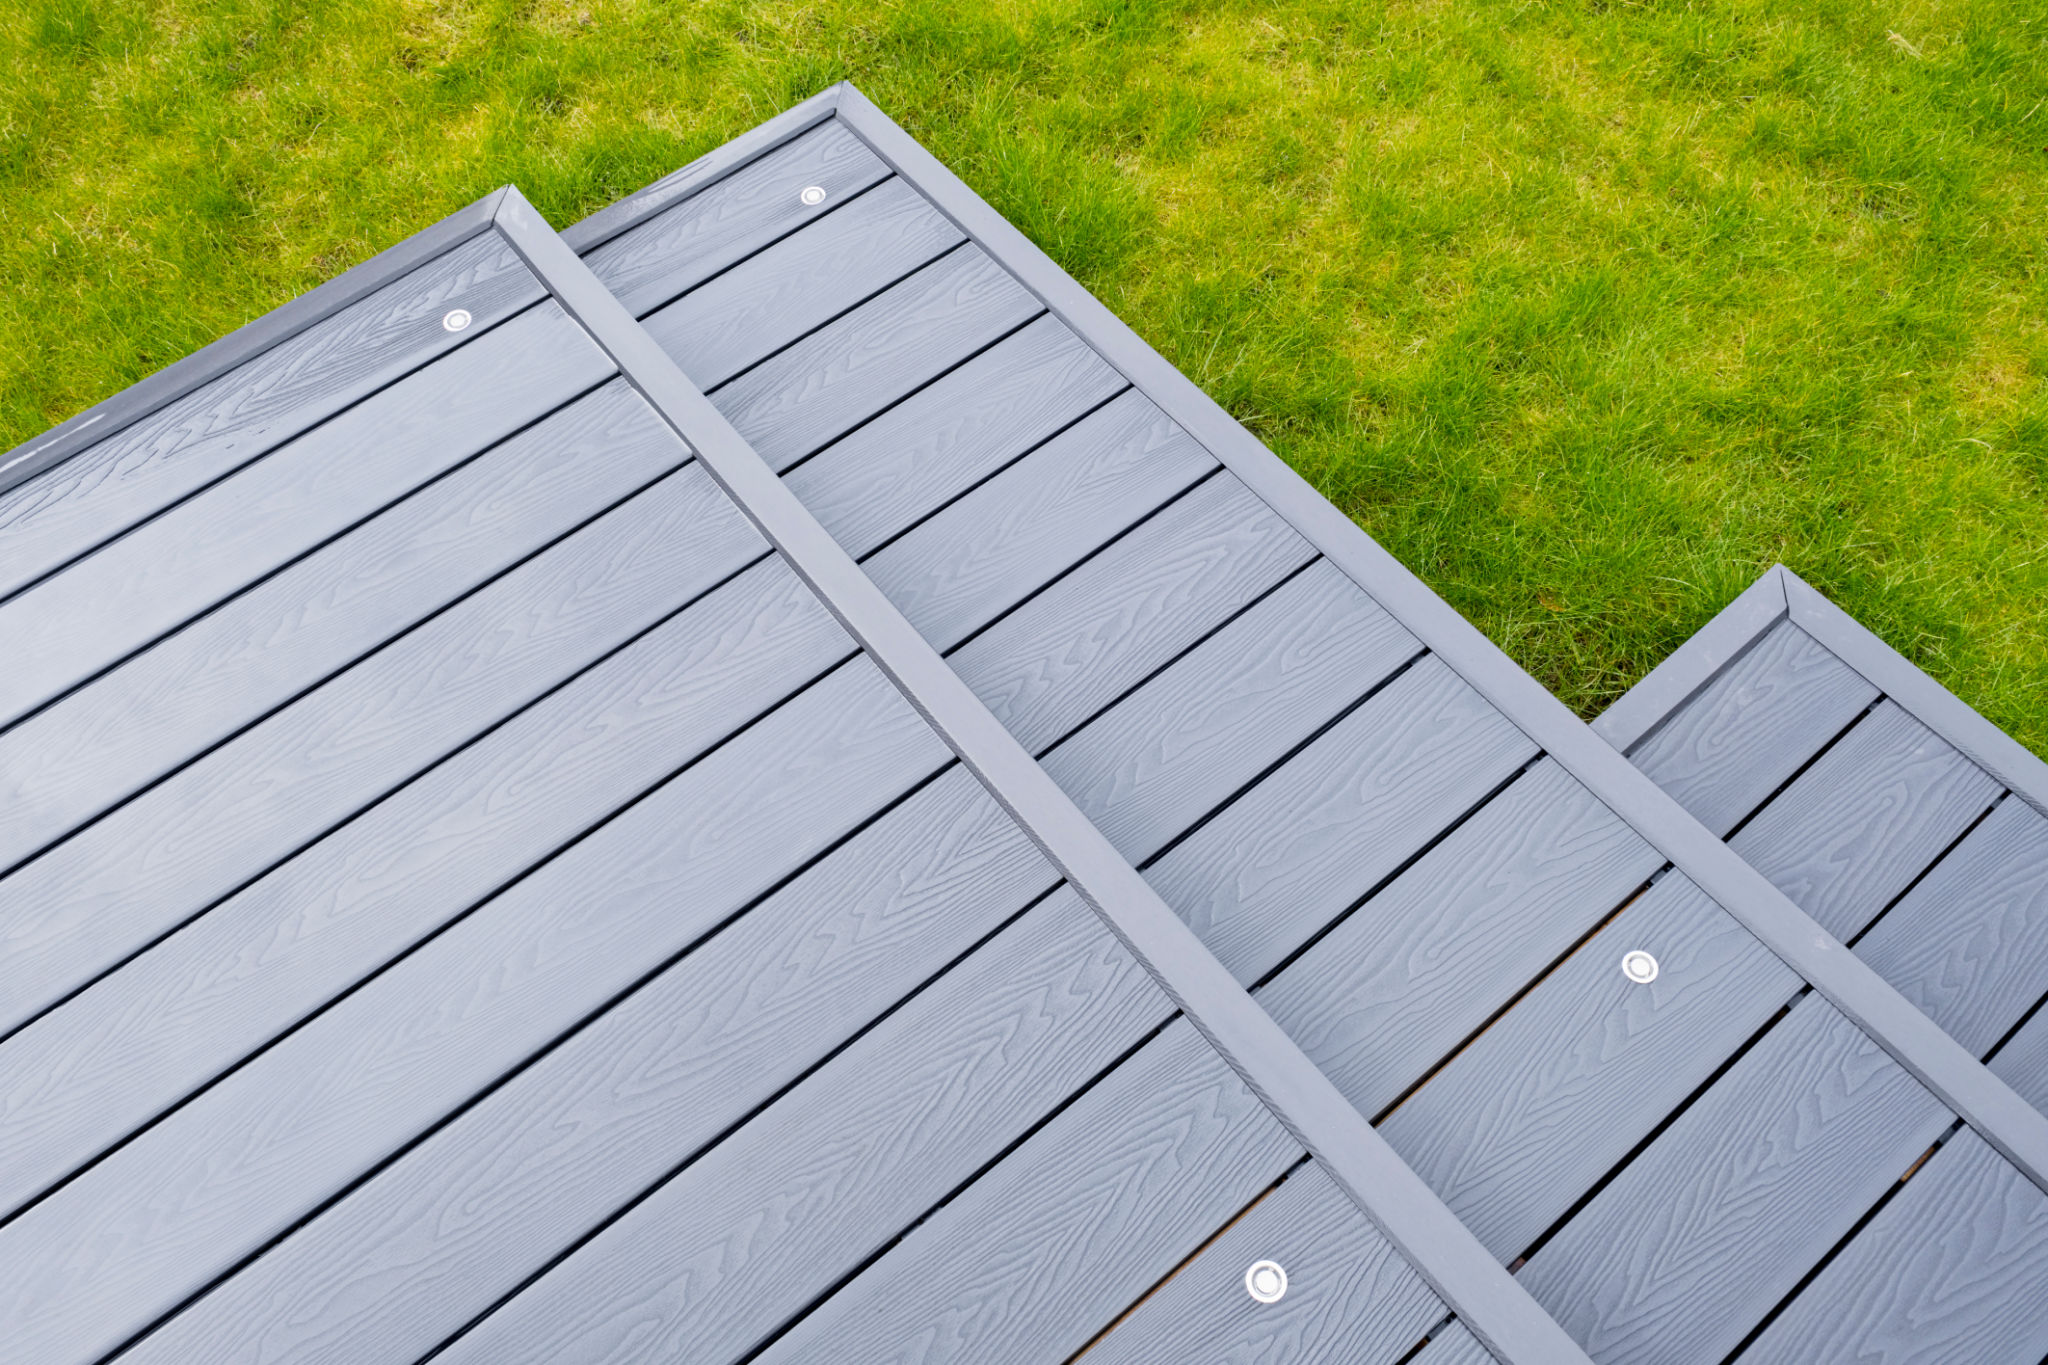
When it comes to building a deck, PVC decking has become a popular choice among homeowners due to its durability, low maintenance, and aesthetic appeal. Unlike traditional wood, PVC decking is resistant to rot, mold, and insect damage, making it an excellent long-term investment for outdoor spaces. Understanding the basics of PVC decking will set the foundation for a successful DIY installation.
PVC, or polyvinyl chloride, is a synthetic plastic polymer that is both lightweight and strong. It offers a range of colors and finishes, allowing you to customize your deck to match your style. Before starting your project, ensure you have all the necessary materials and tools to avoid interruptions during installation.

Gathering Your Tools and Materials
Before diving into the installation process, it's crucial to gather all the required tools and materials. Here's a checklist to help you get started:
- PVC decking boards
- Measuring tape
- Chalk line
- Drill and drill bits
- Screwdriver
- Circular saw
- Safety goggles and gloves
Having these tools ready will make the installation process smoother and more efficient. Additionally, make sure to wear safety gear to protect yourself from potential hazards.
Preparing the Deck Area
Preparation is key to a successful DIY project. Start by clearing the area where you plan to install the deck. Remove any debris, rocks, or vegetation that might obstruct the installation process. Check for any uneven ground and level it out to ensure a stable foundation.
Next, use a chalk line to mark the layout of your deck on the ground. This will serve as a guide during the installation process. Make sure to double-check your measurements to avoid any errors that could affect the final result.

Installing the Joists
The joists are crucial in supporting your decking boards. Begin by laying out your joists according to your deck's design plan. Use pressure-treated lumber for added durability. Secure the joists with galvanized screws or joist hangers to prevent rust and ensure longevity.
Make sure the joists are evenly spaced, typically 16 inches apart, to provide adequate support for the PVC decking. Double-check that they are level and adjust as necessary before moving on to the next step.
Laying Down the PVC Decking Boards
Once the joists are securely in place, you can begin laying down the PVC decking boards. Start at one end of the deck and work your way across, ensuring each board is aligned correctly. Use a drill with a countersink bit to pre-drill holes for the screws, which will prevent cracking during installation.
Secure each board with stainless steel or coated screws designed for outdoor use. As you attach each board, maintain a small gap between them to allow for expansion due to temperature changes. This will help prevent warping over time.
Finishing Touches
After all the boards are installed, inspect your work for any loose screws or uneven surfaces. Make any necessary adjustments to ensure a smooth, safe deck surface. You can add railings or decorative trim as desired to enhance the appearance of your new deck.
Finally, clean up any debris from the installation process and give your new deck a thorough sweep. Regular maintenance involves occasional washing with soap and water to keep the surface looking pristine.
Enjoying Your New Deck
With the installation complete, it's time to enjoy your new outdoor space! Whether you're hosting gatherings or simply relaxing in the sun, your PVC deck offers a beautiful and durable platform for countless activities.
By following these DIY tips, you can create a stunning deck that adds value and enjoyment to your home for years to come. Remember, patience and attention to detail are key to achieving professional results in any DIY project.